How to build a scroll-driven 3D web experience
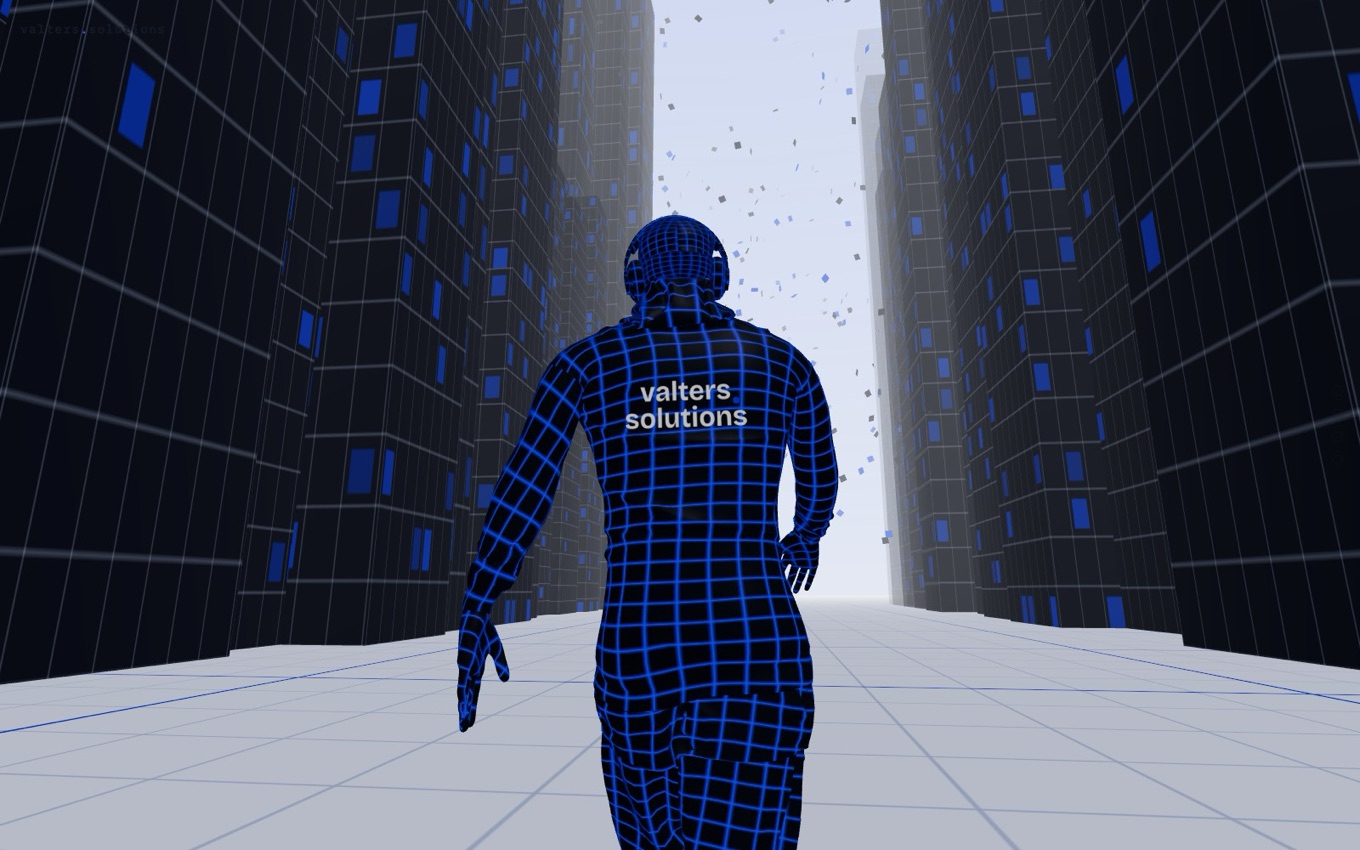
How to build an immersive, scroll-controlled 3D scene on the web (a camera that flies through a world as you scroll, text that assembles, a character that walks). Live example: https://3d.valters.solutions.
This is a build guide, not a copy-paste tutorial - the approach, the setup, the right build order, and the sharp edges to avoid. If you're comfortable with React and willing to learn some three.js, you can build one.
↓ Download this guide (Markdown)
0. The mindset
The "wow" (3D city, walking figure, exploding text) is the easy 20%. The hard 80% is legibility, mobile, load behaviour, and restraint. Plan for that, and build the smallest thing that moves before you build the whole world.
One idea runs everything: scroll position → a single progress number (0→1)
→ every camera move and every reveal reads that number. Nail that spine first.
1. Plan it before you open an editor
Treat it like directing a short film, not coding a feature.
- Write the beats. List the moments in order: "start behind the character → walk into the city → 4 message panels → fly up the tower → land on my site." 5–8 beats is plenty.
- Pick ONE core mechanic. Here it's scroll drives a camera along a path. Don't also add click-to-explore, drag-to-orbit, etc. in v1.
- Draw a progress timeline. On a line from 0 to 1, mark what the camera does
and what appears at each point (e.g.
0.0–0.1intro,0.34–0.42panel 1,0.8–1.0the finale). This timeline is your spec. - Scope v1 brutally. One character, one street, one message. Add later.
Everything downstream is just filling in that timeline.
2. Initial setup
Prerequisites: Node 18+ and basic React.
Create the app (either works):
# Vite (leaner, great for a single 3D page)
npm create vite@latest my-3d -- --template react-ts
# or Next.js (if you want routing/SSR for surrounding pages)
npx create-next-app@latest my-3d
Install the core packages:
npm i three @react-three/fiber @react-three/drei zustand
- three - the 3D engine (scene, camera, meshes, materials).
- @react-three/fiber (R3F) - write three.js as React components; gives you
the
useFramerender-loop hook. - @react-three/drei - helpers you'll use constantly:
useGLTF(load models),useAnimations(play/scrub animations),useProgress(real load %),OrbitControls, loaders. - zustand - a 2-line global store to hold the
progressvalue.
Optional but useful:
npm i -D tailwindcss postcss autoprefixer   # styling the HTML overlays
npm i leva                                   # on-screen sliders to tune values live
npm i @react-three/postprocessing            # effects - add sparingly (see pitfalls)
First render: get a single cube on screen inside an R3F <Canvas> with
<OrbitControls>. Once you can orbit a cube, the toolchain works.
3. Where to get 3D models (and how to credit them)
You don't model anything yourself to start. Use glTF / GLB files - the web-native format (compact, loads fast). Good sources:
- Mixamo (mixamo.com, free, Adobe account) - rigged, animated humanoid characters. Perfect for a walking/idle figure. Download as FBX or glTF.
- Sketchfab (sketchfab.com) - huge library. Filter Downloadable and by license. Many are CC-BY (credit required), some CC0.
- Poly Pizza (poly.pizza) - free low-poly props/scenes.
- Quaternius (quaternius.com) and Kenney (kenney.nl) - CC0 low-poly packs (no attribution needed - easiest licensing).
- Ready Player Me - generate a custom avatar as GLB.
Prep the model:
- Prefer
.glb. If you only have.fbx, convert it (Blender, or an online FBX→GLB converter). - Compress big files with
@gltf-transform/cli(draco/meshopt) so mobile loads. npx gltfjsx model.glbturns a GLB into a tidy React component - handy.
Licensing & credits - do this properly:
- Always check the license before shipping. Common ones:
- CC0 / Public Domain - use freely, no attribution required.
- CC-BY - free to use commercially, but you must credit the author.
- Others (CC-BY-NC, CC-BY-SA) may forbid commercial use or force share-alike - read them.
- A CC-BY credit must include: the work's title, the author's name, a link to the source, a link to the license, and a note if you modified it. Example: "City Walk" by Jane Doe - sketchfab.com/... - CC-BY-4.0 - modified.
- Where to put credits: a visible spot in the experience (a small credits
line, an info panel, or the footer of the site it links to) and/or a
CREDITS.mdin the repo. Keep a running list as you add each asset so you don't scramble at the end. - Mixamo: characters/animations are free to use in your projects - check Adobe's current terms, but attribution generally isn't required.
4. Build order (vertical slices, not features)
Build the thinnest end-to-end slice first, then thicken it.
- Cube + scroll. Make the page tall (a spacer div, e.g.
height: 1200vh), and move the camera as you scroll. This proves the whole idea. - Swap in your character. Load the GLB with
useGLTF; scrub its walk animation by scroll instead of playing it on a timer. - Add the world - ground, buildings, sky.
- Add the text panels at fixed points on your progress timeline.
- Then polish - reveals, transitions, loading screen, theming, mobile.
Do not build the city before the camera moves. The choreography is the product.
5. Building the pieces
The scroll spine (do this first):
// 1) an eased loop turns scroll into a smooth 0..1 and stores it
useFrame(() => {
  const target = window.scrollY / maxScroll;
  eased.current += (target - eased.current) * k;   // glide, don't snap
  store.setProgress(eased.current);
});

// 2) anything 3D reads that number (read it non-reactively, not as a prop,
//    or you re-render 60x/sec)
const p = store.getState().progress;
camera.position.copy(path.getPointAt(p));          // camera follows a curve
Move the camera along a Catmull-Rom curve (THREE.CatmullRomCurve3) through
your waypoints. To make it pause at a panel and move quickly between, remap the
progress within each segment with a smoothstep so it "dwells."
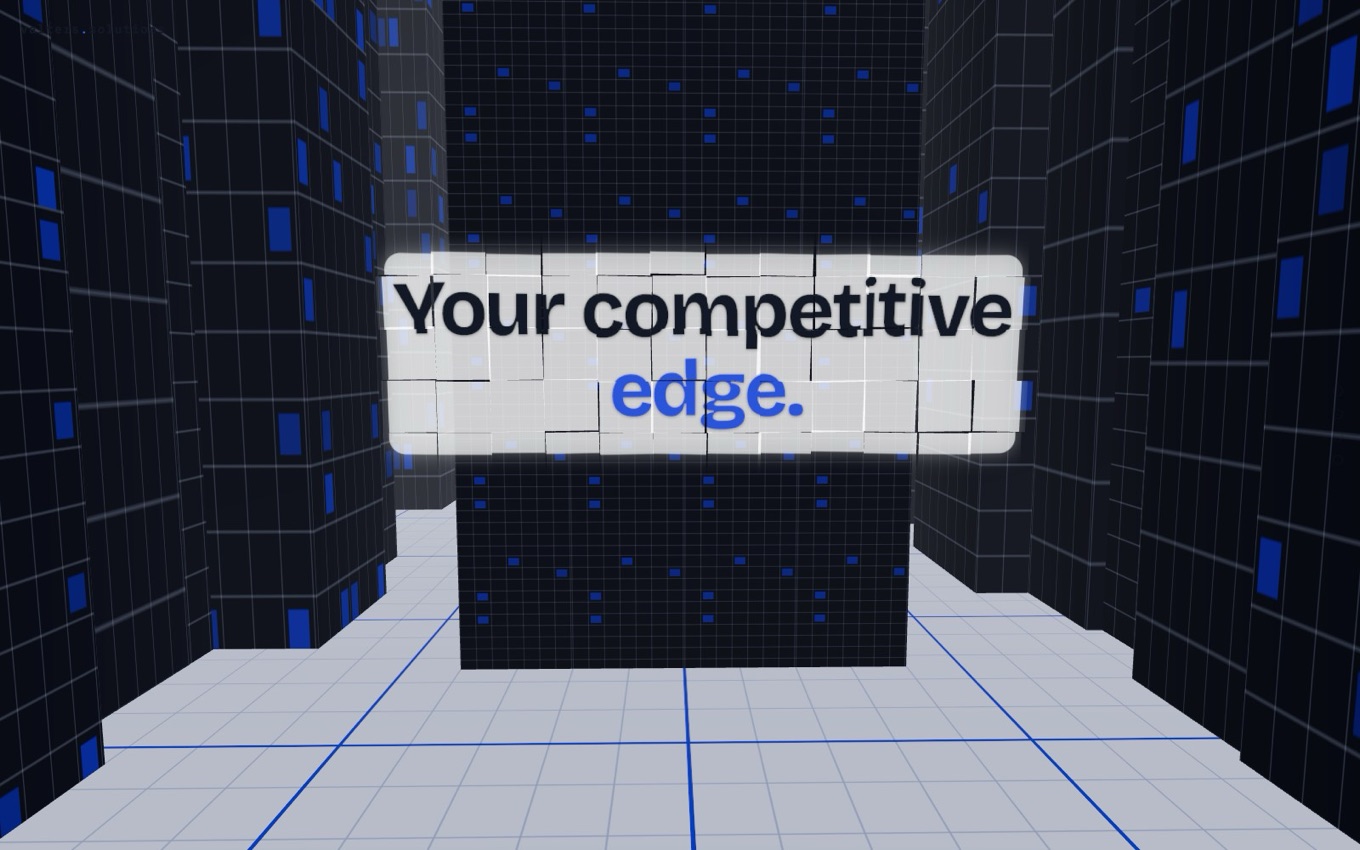
Text in 3D: don't drop HTML into the scene. Draw text on a <canvas>,
turn it into a CanvasTexture, and map it onto a plane. For the "assembles
from cubes" effect, split the plane into a grid of small tiles sharing that
texture and animate each tile from a scattered position into place by progress.
For legibility on any background, put the text on a soft translucent band (not
a hard outline) and colour one key word in your accent (duotone).
Environment: a large sphere with a gradient texture makes a cheap sky. For a floor grid, bake the grid into a canvas texture (with mipmaps + anisotropy) rather than using a shader grid.
Loading: show a real progress bar with drei's useProgress(), and keep a
full-screen cover up until your model has actually loaded - then fade into the
scene. Lock scrolling while the cover is up so people can't skip the intro before
it renders.
Theming (light/dark): you have two layers - HTML/CSS overlays and the WebGL scene - and they drift. Keep one source of truth: define colours as CSS variables, and mirror the same values in a JS object for the three.js side (three can't read your CSS classes).
Mobile: design it separately, don't just shrink it. Test at ~375px width
throughout. Put real HTML <button>s over the canvas for anything tappable -
touch taps on 3D meshes are unreliable.
Performance: render thousands of repeated objects with a single
InstancedMesh (one draw call). Dispose textures/geometry you replace. Use
lower-resolution canvas textures on mobile.
6. Pitfalls worth knowing up front
- Camera far-plane vs a big sky sphere: if your sky sphere is bigger than the
camera's
farclip distance, it gets cut and the background shows through. Setfarlarger than your sky radius. - Bloom / post-processing suits dark scenes. On a light/clean aesthetic it blooms your UI into mush and costs FPS on phones. Add effects last, if at all.
- Shader floor grids drop thin lines at grazing angles - bake the grid into a texture instead.
- Verify in a real browser constantly. The nastiest bugs are invisible in code and only show on screen; and headless/automated tabs throttle animation, so judge motion and timing with a real scroll.
7. Ship it - and be strategic about it
- Deploy it as its own project (e.g. a subdomain). It's a heavy JS bundle
with near-empty server-rendered HTML; bundling it into your main site hurts
load speed and SEO. Mark it
noindexso it doesn't compete with your real content pages. - Make it optional. A "3D experience" can read as style-over-substance to some visitors. Let people opt in rather than forcing everyone through it, and lead with your actual work.
- Add analytics and check whether anyone finishes it. Build v2 on data.
Packages recap
# required
npm i three @react-three/fiber @react-three/drei zustand
# optional
npm i -D tailwindcss postcss autoprefixer
npm i leva @react-three/postprocessing
# model tooling
npx gltfjsx model.glb
npm i -g @gltf-transform/cli
Learn the gaps
- R3F docs + the drei examples (start here).
- three.js official examples for any specific effect.
Now go build the smallest version, deploy it, and iterate. The browser is your real debugger.